Rises, stings and transitions are a stable in modern film scores – especially with movie trailers, tv promos and reality shows. They make dramatic string crescendos and finales even more dramatic and epic. They underline the superhero flying over your head with a big SWOOOOSH. And although the sounds and plugins used for this usually sound good already, they often don’t deliver that full sound you might want.
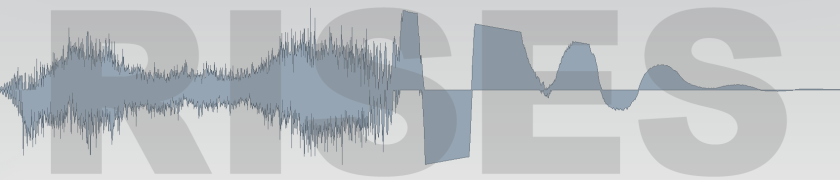
But with a few little tricks you can make your rises and transitions fuller and more piercing in the mix.
Here’s what I use most of the time. The transition effect on it’s own sounds like this:
Starting with a doubler plugin (my go-to choice is Waves’ Doubler4 Stereo) the sound gets denser and bigger. Now it fills the panorama a bit more. That’s what the settings look like – already pretty extreme (especially the detune), you shouldn’t use these for vocals 😉

After the doubler it sounds like this:
Now a delay might be nice. This depends on the sound’s release time, and of course if you’d like to have an echo on the rise/transition or not. Quite often you might not want it with too much echo so it won’t bleed too much into the part it rises up or transitions into and sounds more like a sting. But a little bit of delay can bring more room and a denser sound to it. Also try out several tempo settings for the delay – I find that a straight 1/8 or 1/16 can be pretty boring, while a 1/8T (triplet) or 1/8D (dotted) makes it livelier. Here are my settings with Waves H-Delay:

With the delay, the sound is this:
Next step is reverb. And don’t be shy with it 😉
For me, these rises and transitions need to breathe in a big environment, that’s what makes them cinematic. One of the reverbs I use a lot is a simple choice: it’s the one that comes with Cubase, REVerence, a convolution reverb with lots of different presets from small rooms to big churches. For rises I like to use a big room like a church, a concert hall or even catacombs (altough these tend to be a bit muffled and also might make the sound too smudgy). In this case the preset is “Echo Room B”:
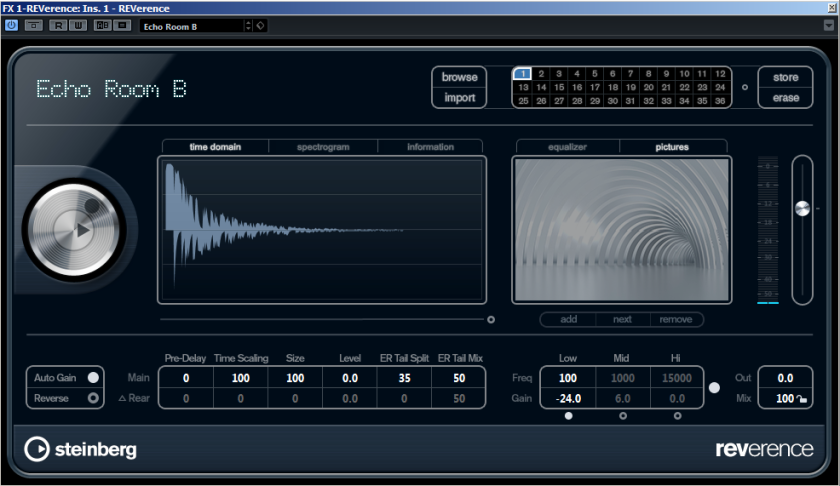
The only change from the preset: I often boost the mid frequencies a bit while filtering low frequencies from around 100 Hz downward to make the reverb a bit brighter in the mix. Here it’s only the 100-Hz-“Filter”.
The reverb is not in the channel itself like the other two effects, but on it’s own effect track. The signal is sent via post-fader send to the reverb, the send is fully open. The reverb channel also is pretty loud in the mix.
Now the transition sounds like this:
And this is how it is used in the full song:

Nice article! I love hearing it all in context with your track. Which was a neat transition effect now that I heard it amidst everything else.
Also, kudos/a shoutout to using the Cubase reverb. It stands its own amongst the rest of the third-party ones out there. I love REVerence.
Are the vocals recorded or is that a VST library? They sound great!
LikeLike
Hey Tony,
thanks for the comment – glad you like it 🙂
Yes, REVerence is really cool and my go-to reverb…
The vocals are from Heavyocity’s Vocalise.
Cheeers,
Chris
LikeLike
Hola! I’ve been following your website for a while now
and finally got the courage to go ahead and give you a shout out from
Kingwood Texas! Just wanted to say keep up the good work!
LikeLike
Hi Kiersten,
thank you very much! I really appreciate this 🙂
Hope I’ll have some more helpful or interesting posts soon.
Greetings from LA to Texas 🙂
LikeLike